
My
Nan bakes the BEST cakes. Her signature coffee sponge is outrageously light and
fluffy and literally knocks your socks off. Unfortunately I can’t do her cakes justice
through words but honestly my Nan (or should I say Mrs Kipling) provides a
bloomin’ well good cake!
With
Nan’s birthday approaching I was feeling VERY pressured. What on earth do you
bake Mrs Kipling herself? I was debating whether I should cheat, pop to
M&S, purchase a cake, add some toppings and shaa bang...a homemade cake! I
resisted the temptation. I plucked up the courage and decided to bake Nan a coconut and
raspberry cake.
Fingers crossed I haven’t let my Nan down!
I followed the recipe from Baking Mad so feel free to check their website out! My cake unfortunately hasn't got 4 layers - it has 2! I was TOO heavy handed (as usual) and broke my first sponge! Ooops! BUT I didn't bin the sponge, it got recycled into something scrummy! I will reveal all at the end of this post (please tell me you're excited).
Right,
What you will need:
For the cake:
175g Self Raising Flour
175g Butter Softened
175g Golden Caster Sugar
1 tsp Baking powder
3 Free Range Eggs
1 tsp Vanilla Extract
75g Desiccated Coconut
For the filling and icing:
7 tbsp Seedless Raspberry Jam
50g Shredded coconut
450g Mascarpone
1 tsp Vanilla Extract
1 tbsp Icing Sugar
For decoration:
Additional 110g Desiccated Coconut
(Personally I would double the cake ingredients to achieve a better 'layer' result).
1. Mix all of the ingredients listed for the 'cake' in a bowl. Once you have a nice smooth mixture add the desiccated coconut...

2. When all of the coconut is mixed in pour the mixture into your greased cake tins (divide evenly between two) and then place in the oven for around 30 minutes on 170°C,325°F, gas 3.
3. Whilst your coconut delight is baking away it's time to make your icing. Mix together everything listed for 'filling and icing' apart from the jam. You will get a nice thick coconut texture like this...

4. Yes, 30 minutes is over! Before removing from the oven check that your cake is springy to touch and golden, then leave to cool for 5 minutes and then carefully turn them out onto wire racks. I learnt my lesson from being a heavy handed beast so please go careful!
5. Spread your jam on both sponges and then add your coconut icing (that's if you haven't already licked the entire bowl). Now place one sponge on top of another (jam sides facing together).

6. This is the messy part! Cover your whole cake with the icing, then sprinkle with coconut and decorate with raspberries...

7. Your coconut and raspberry cake is now READY!

8. If you are baking this for a loved one then do try your best NOT to cut yourself a slice off!


If I had doubled up on the cake mixture then it would have looked a lot more powerful. More layers the better right? However I didn't, SO lets hope Nan isn't disappointed with the measly two layers!
OK, so are you still wondering what I did with the first broken sponge? Well yes I obviously did munch on some but I was determined to make the rest go to GOOD use! Therefore I did the same thing as what I would do for my cakepops. I crumbed my broken sponge and added some coconut icing to make it form a 'dough' like texture...

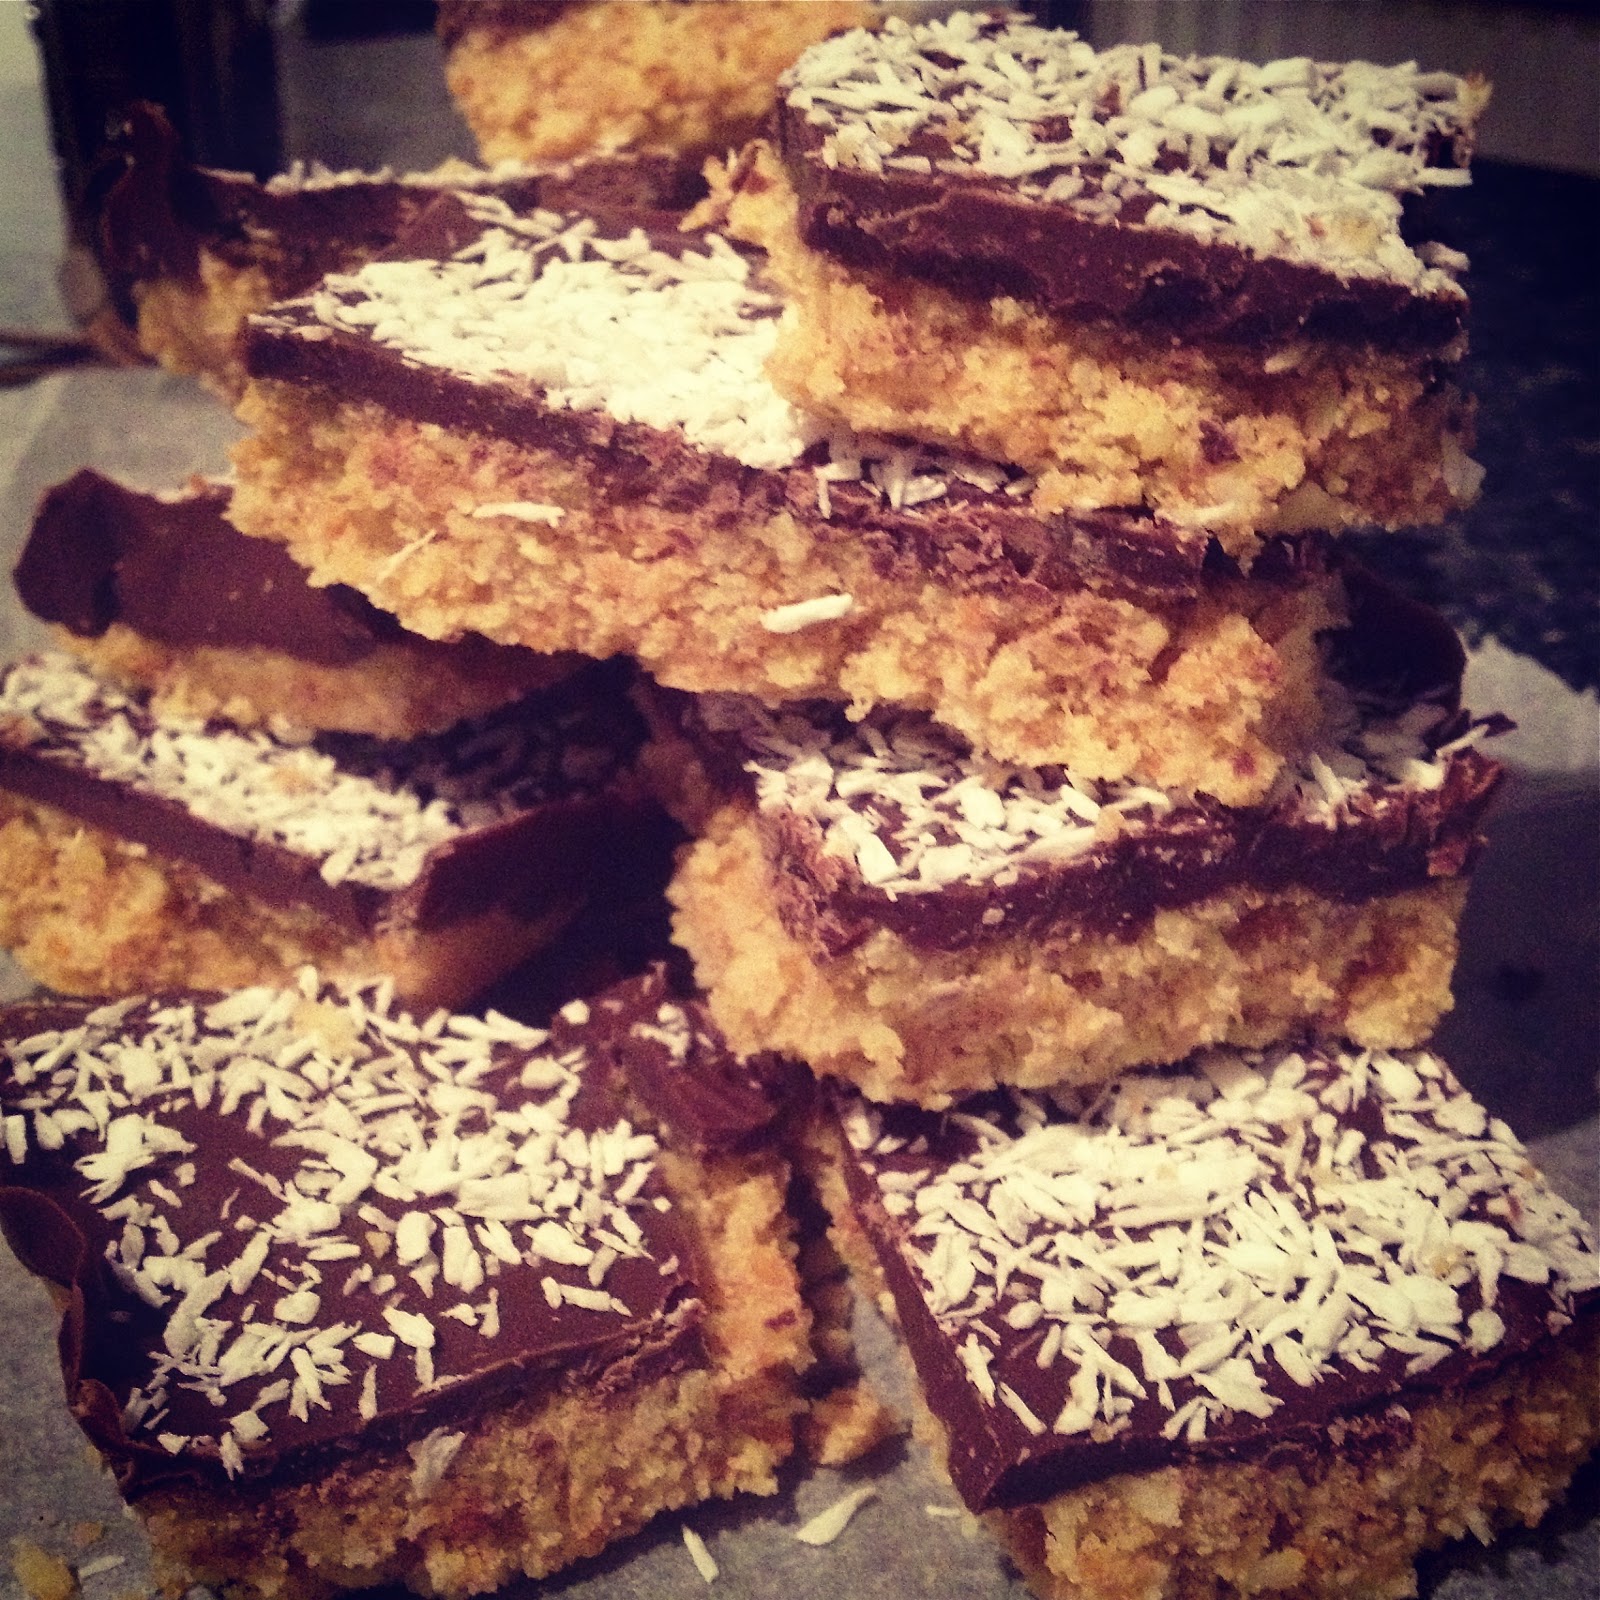
I placed the 'dough' into a square tin and left it in the freezer for 20-30 minutes. I then poured melted chocolate over the top...


Time for some snow...I sprinkled a generous amount of desiccated coconut over the top and left it to set in the fridge for 5-10 minutes.

I then chopped away...

It got MESSY - don't say I didn't warn you!


It's chocolate coconut JENGA time!
I'm going to also pack these little pleasures up for Nan. If she doesn't like the cake then at least I have a back up!
Wish me luck! When we cut the cake tomorrow if the inside looks half decent I'll upload a picture on my Twitter/Instagram. If you don't see a picture then just assume it was a disaster!
I hope you're all having a lovely weekend!

Since the program is based on a real time world, users would not only be able
ReplyDeleteto choose the weather of their choice but also the scenery.
The reason that you should take a look at a Joana's Star - Craft 2 guide review is obvious. This game by Hexacto is simple, straightforward, and fun. Still, within each of these types of simulation games, certain games tend to rise to the top. Usually, would need to follow the entire startup sequence to start any of the airplanes, but FSP also has the auto start feature, to make it easier for newbie’s.
Here is my weblog - simulator
Overall the times was a very exciting newspaper and one which is
ReplyDeletevery insightful into its readers needs. Some Local News papers/journals/ tabloids/Magazines focus on regional happenings and
target local audiences/ readers. He quickly became
a well known activist for Islamic revivalism calling for the ouster of pro-western governments using
violent means if necessary. Some say it would have,
because there is an ongoing collaboration between
the two groups in attacks on Israel. Just save
your old newspapers, or get some from friends and neighbors and start packing.
Here is my homepage click here