Showing posts with label Raspberry. Show all posts

Tuesday, 5 February 2013

Scones Glorious Scones

If you LOVE scones then you are guaranteed to fall madly and deeply in love with these scrumptious ones! The good thing about them is that they are SO easy to make. However the bad thing about them is that they are SO easy to eat...before you know it you’ve already consumed way over your daily food intake! So be warned dieters - they ARE dangerous.


What you will need:

600g Self Raising Flour
2 tablespoons Icing sugar
60g Butter
375ml Milk
180ml Water

Variations:

1. Blackberries & 1 Lemon 
2. Raspberries & Desiccated Coconut


Instructions:
1. Preheat oven to 200°c

2. Sift flour and icing sugar into a bowl then rub in the butter.


  3. You can now add in your flavours (e.g blackberries and lemon rind) or wait until the end if you’d prefer. I wanted to make two different flavoured scones so I felt it was easier to make the dough, divide it up, then add the flavours.

 4. Make a well in the centre of the flour mixture...


5. Pour in all of your milk and half of your water...
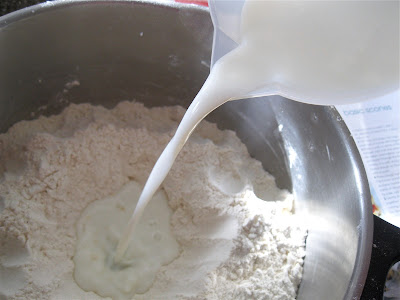


  6. Gradually add the remaining water and use a knife to ‘cut’ through the mixture.

 7. Add in your desired fruits and flavours (if you didn’t already at stage 3) and mix well. I used a whole packet of blackberries and the rind of one lemon.


8. Knead your dough on a floured surface until smooth and then to achieve neat looking scones divide the mixture up evenly and place in a 12-hole muffin tray.

9.  Bake for around 15 minutes (after 10 minutes of baking brush some beaten egg yolk over your scones if desired). 

10. Tuck in my girl...


A BURST of blackberries...


Scones glorious scones...


I certainly wasn't holding back and I got stuck right in...


Unfortunately there wasn't any clotted cream floating around in my fridge I therefore opted for butter topped with Strawberry Jam...


I don't mind that the blackberries sunk to the bottom however to prevent this from happening you can toss your blackberries in flour before adding!


Last time I made scones they were blueberry flavoured ones and I invited my best friend round for 'afternoon tea'. I highly recommend doing this as we had a delightful day. Present your scones on a cupcake stand, fill your favourite tea pot up, purchase a selection of jams/clotted cream and you are ready to GO! Whether it be for breakfast, lunch, or supper; I guarantee you and your best friend will NOT want the scones, the tea, or the day to come to an end. 

A very cosy and comforting scone feast... 


A blueberry scone, with a generous amount of clotted cream, finished with a layer of blackberry jam...my idea of heaven!


Along with the blackberry and lemon scones that I made today, I also baked some raspberry and coconut ones...


Which washed down very nicely with some raspberry jam...


Anyway I think I need a little post scone nap so I'm going to love you and leave you! Please bake some of these when you get a chance, even if you don't like scones (you strange person) then you MUST bake them for somebody you know that does! 

Lots of scone loving, 


Saturday, 2 February 2013

Coconut and raspberry cake

My Nan bakes the BEST cakes. Her signature coffee sponge is outrageously light and fluffy and literally knocks your socks off. Unfortunately I can’t do her cakes justice through words but honestly my Nan (or should I say Mrs Kipling) provides a bloomin’ well good cake!

With Nan’s birthday approaching I was feeling VERY pressured. What on earth do you bake Mrs Kipling herself? I was debating whether I should cheat, pop to M&S, purchase a cake, add some toppings and shaa bang...a homemade cake! I resisted the temptation. I plucked up the courage and decided to bake Nan a coconut and raspberry cake.

Fingers crossed I haven’t let my Nan down!

I followed the recipe from Baking Mad so feel free to check their website out! My cake unfortunately hasn't got 4 layers - it has 2! I was TOO heavy handed (as usual) and broke my first sponge! Ooops! BUT I didn't bin the sponge, it got recycled into something scrummy! I will reveal all at the end of this post (please tell me you're excited). 

Right, 

What you will need: 

For the cake:

175g Self Raising Flour
175g Butter Softened
175g Golden Caster Sugar
1 tsp Baking powder
3 Free Range Eggs
1 tsp Vanilla Extract
75g Desiccated Coconut

For the filling and icing:

7 tbsp Seedless Raspberry Jam
50g Shredded coconut
450g Mascarpone
1 tsp Vanilla Extract
1 tbsp Icing Sugar

For decoration:

Additional 110g Desiccated Coconut

(Personally I would double the cake ingredients to achieve a better 'layer' result).


1. Mix all of the ingredients listed for the 'cake' in a bowl. Once you have a nice smooth mixture add the desiccated coconut...


2. When all of the coconut is mixed in pour the mixture into your greased cake tins (divide evenly between two) and then place in the oven for around 30 minutes on 170°C,325°F, gas 3.


3. Whilst your coconut delight is baking away it's time to make your icing. Mix together everything listed for 'filling and icing' apart from the jam. You will get a nice thick coconut texture like this...


4. Yes, 30 minutes is over! Before removing from the oven check that your cake is springy to touch and golden, then leave to cool for 5 minutes and then carefully turn them out onto wire racks. I learnt my lesson from being a heavy handed beast so please go careful! 

5. Spread your jam on both sponges and then add your coconut icing (that's if you haven't already licked the entire bowl). Now place one sponge on top of another (jam sides facing together).


6. This is the messy part! Cover your whole cake with the icing, then sprinkle with coconut and decorate with raspberries...


7. Your coconut and raspberry cake is now READY!


8. If you are baking this for a loved one then do try your best NOT to cut yourself a slice off! 


If I had doubled up on the cake mixture then it would have looked a lot more powerful. More layers the better right? However I didn't, SO lets hope Nan isn't disappointed with the measly two layers! 

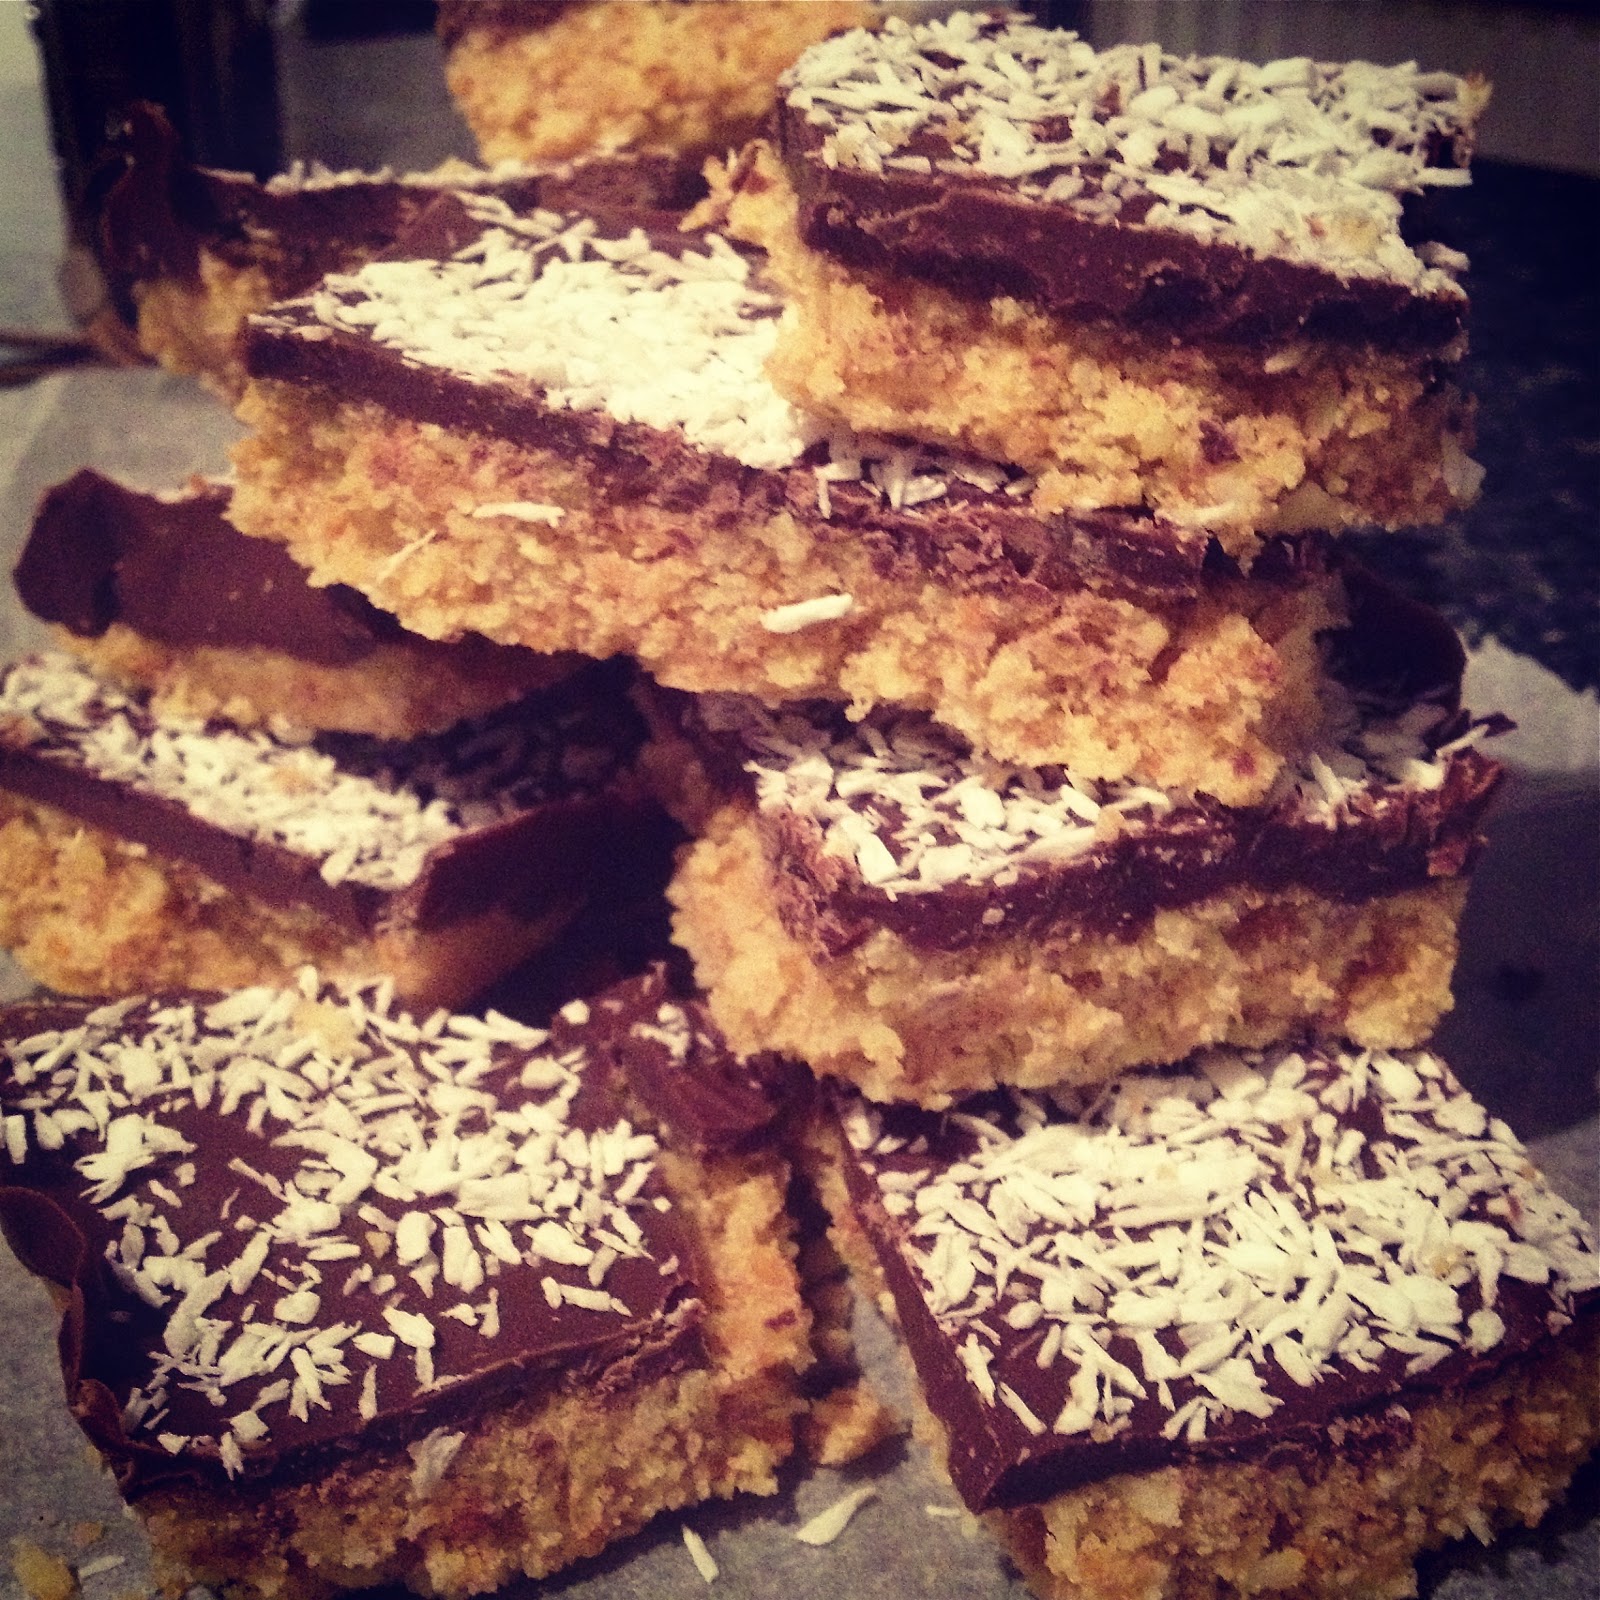
OK, so are you still wondering what I did with the first broken sponge? Well yes I obviously did munch on some but I was determined to make the rest go to GOOD use! Therefore I did the same thing as what I would do for my cakepops. I crumbed my broken sponge and added some coconut icing to make it form a 'dough' like texture...


I placed the 'dough' into a square tin and left it in the freezer for 20-30 minutes. I then poured melted chocolate over the top...


Time for some snow...I sprinkled a generous amount of desiccated coconut over the top and left it to set in the fridge for 5-10 minutes.


I then chopped away...


It got MESSY - don't say I didn't warn you!


It's chocolate coconut JENGA time!


I'm going to also pack these little pleasures up for Nan. If she doesn't like the cake then at least I have a back up! 

Wish me luck! When we cut the cake tomorrow if the inside looks half decent I'll upload a picture on my Twitter/Instagram. If you don't see a picture then just assume it was a disaster!

I hope you're all having a lovely weekend!